03 December, 2006

Toronto @ Night


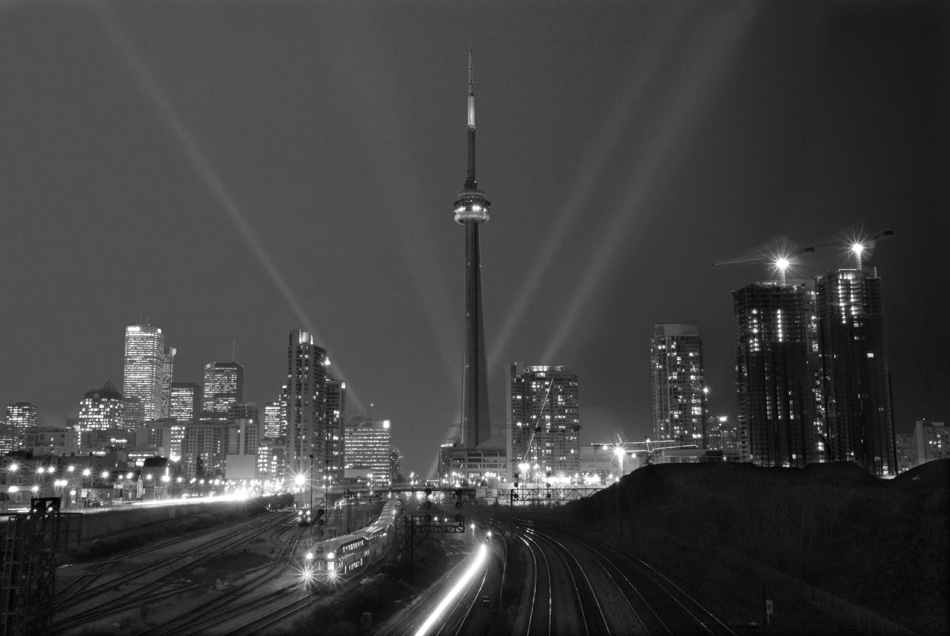
And so this one was the bane of my Sunday! I didnt think it would be 2 hard to photoshop, just crop one picture, and put it behind the other one... Hoever there were holes in the sky, and then tonal changes that didnt want to work.. etc etc. so 4 hr's later, this is what I'm accepting as my final print. (unles I change it) it also involved 2 trips downtown of about 3 hr's each.. they're definately keeping me busy! :)

Comercial shooting

so this one was fun. difficult in some ways, not so in others. basically we had to pick a comercial to imitate I chose this one:


so I then set up, shot it, and then I photoshoped it. and this is my final product:


not perfect. the fonts arent exactly the same, and obviously the carots aren't the same. but I think I did fairly well considering my subject. :)

Interior Architecture


So, this is one of the rare chances for me to put up an image from my Large format shooting. this is a large assignment and it isnt done yet! but this is a copy of the print I'm going to use.
For this project we had to use a large format camera. (these are the old fashioned style cameras with the bellows between the lens and the film. also the film sheets are 4"x5"! so the whole thing takes along time to setup, and to use.) so we had to take this whole setup to somewhere off campus and do some interior shoots of the architecture. Then we have to scan one of the pictures (whichever is best) and photoshop it, and make a digital print. then we have to take the Negative and make an analog print in the dark room, THEN we have to mount them both and submit the Neg.'s the prints, and a contact sheet.!
this is a photo of the Mississauga City Center. the "Grand Staircase".

Rembrandt Lighting

It just seems like they move a light a few inches and then they throw a name at it and call it something new! Ahh well, it does have different "feels" to each one. this one was called Rembrandt Lighting, and it was somewhere between the Loop lighting, and the split lighting. we were told to look for the triangle on the opposite cheek. (to the light) so, I managed to get all sorts of good shots without the triangle. but I did find a few that had something anyway, so hopefully they will suffice for the teacher. I feel like I'm starting to get the idea now, and am looking forward to learning more! (Just wait until we get to finish our projects in colour!)